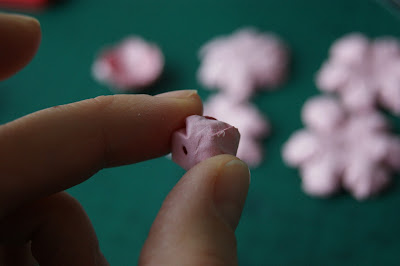
To create the rose I used Marianne Design Creatable LR0196 die and basic color craft paper 120g. Roses on the card at the end of the post I made of handmade paper/mulberry paper.
You need six flowers, two of each size of the three dies. Then cut the petals between.
All flowers need to be pressed using stylus tool on embossing mat (or ordinary computer mouse mat) . I have learnt this idea watching Sherry Cheever tutorial. I do not mist flowers with water like Sherry do.
You will need to leave two smallest flowers up and turn the rest up side down.
Using some glue at the petal of the smallest flower, close it up gently. Petals will close by them self while you just manipulate with fingers.
Now just glue one by one.
The little hole which is after die cutting is useful when you glue flowers. It helps to find the centre of the flower.
Just gently close the flower. Petals will close by them self while you just manipulate with fingers.
Glue next flower.
Just gently press. Be careful not to destroy the shape they got after pressing on a mouse mat.
You can find the centre of the flower using stylus tool.
I glue every next flower trying to position them asymmetrical.
I position the cut between petals on one flower in a middle of the petal of the next flower.
Just have in mind the centre of the rose :)
After glue is dry I move the petals to give the rose look I like.
Sometime I twist petals with tweezers.
Ready roses.
There are two roses on left hand side made with 120g color paper and on a card roses made from handmade - mulberry like paper.
I recomend Artes de Nagela roses. They are very pretty I looks really nice.
ps. 28.4.2012
Here are same roses made of home made paper with Tattered Garland TH die.
Joanna
Pin It Now!


No comments:
Post a Comment
Thank You ✿